Category: Projects

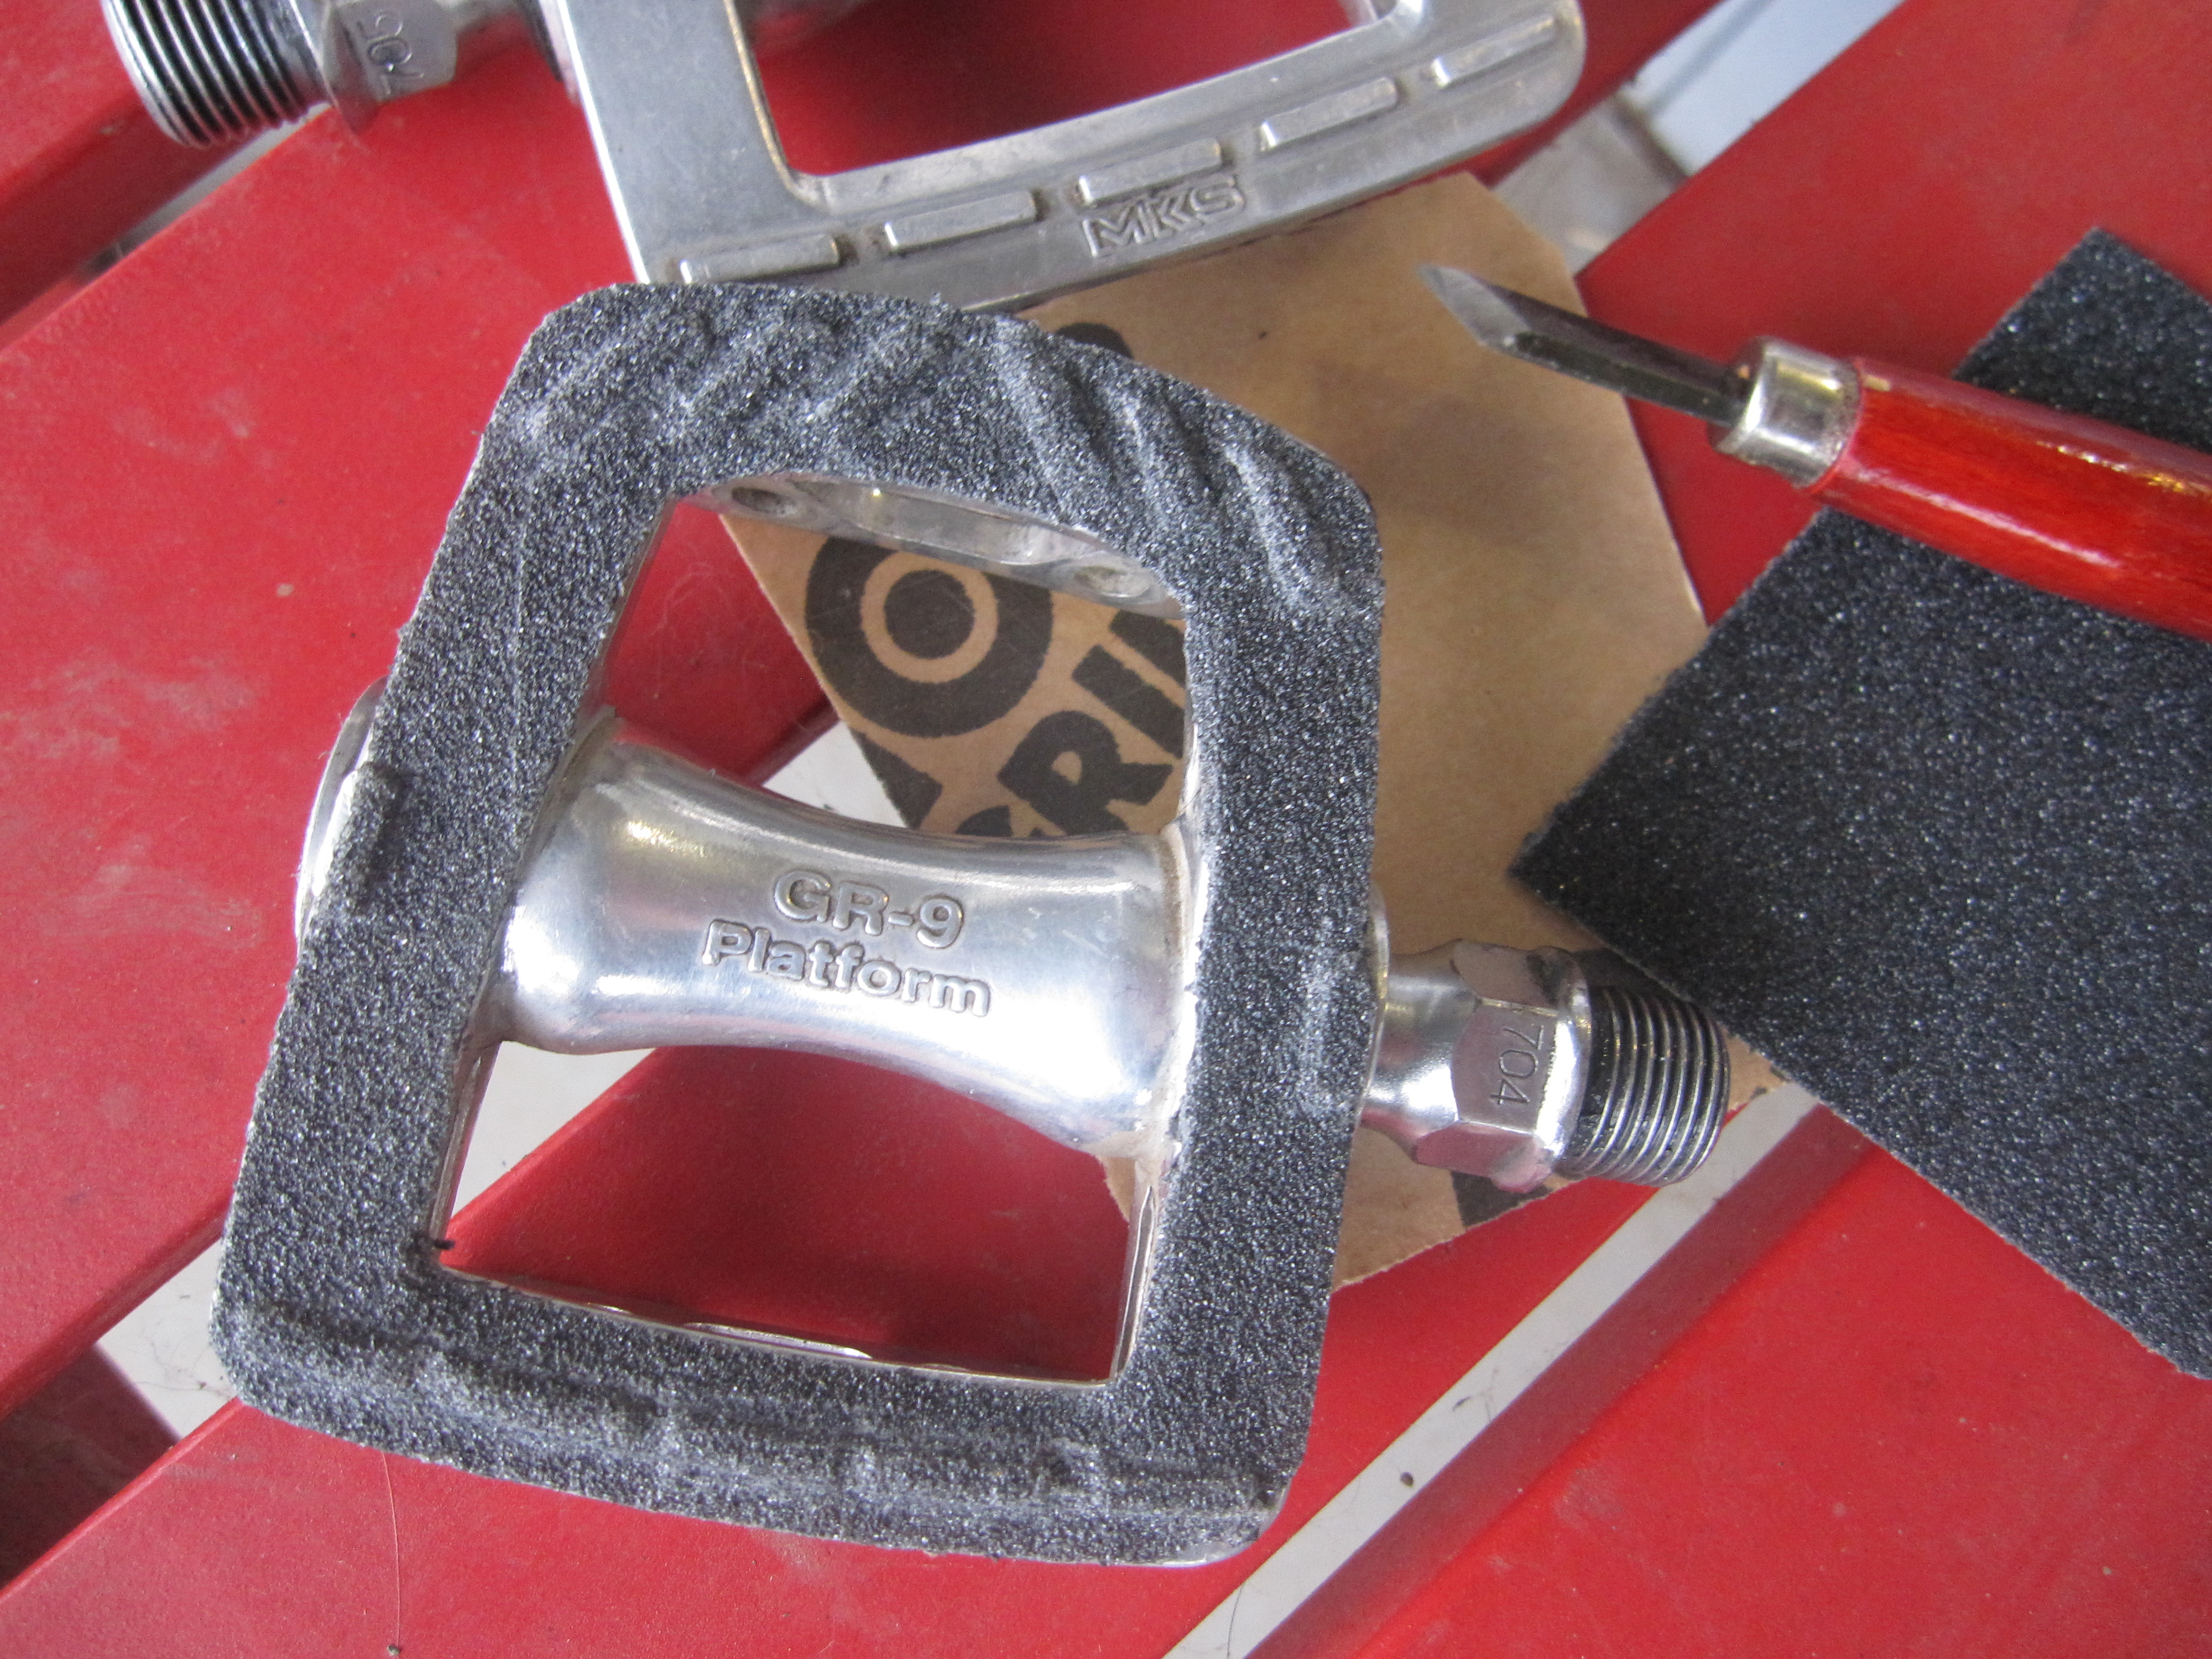
  • skateboard grip tape on MKS GR9 platform pedals

    skateboard grip tape on MKS GR9 platform pedals

    I’ve had these pedals for a while, but found them to be too narrow for my size 12 feet. I put them on my wife’s 3 speed Steyr when she broke a pedal axle.

    They get a little slippery in the rain, at least for me. Hopefully the grip tape will add some gription when it’s wet. She wants rubber block pedals again, so I’ll probably try them with clips and straps on another bike pretty soon. I don’t know if the tape will make it too hard to use clips, or not.

    I cut out a square of “Mob” grip tape for each pedal, and used a woodworking blade to cut around the pedal shape.
    I also used the flat of the blade to press down around the bumps on the surface of the pedal. In some cases, I scored the edge of the bump in order to make it look ‘raised’ enough.

  • Prototype skate-deck platforms for quill pedals

    skate-deck_mks-pedal, by BikeTinker.

    At any rate, I’m experimenting with attaching the skate platforms to other kinds of pedals, starting with the uncomfortable and slippery ones I already have.

    Quill pedals always hurt my size 12 feet. There’s a big spike at the end, and the cage digs through my shoes. I don’t find them to have much gription, either, especially in the rain.  In order to use these pedals without clips or straps, I decided to see if applying Skate Deck Technology to them would make them more comfortable and more usable.

    I’ve been riding my skate-deck clip-in pedals on Crank Bros pedals for years. I love the feel and grip of the skate deck platform, but I never ever ride clipped in, so the ‘convertibility’ factor isn’t useful for me anymore. I think there’s still a lot of value in the idea for people who do clip in for long rides, but would like to jump on their good bike to ride with the family, or run some errands.

    I may go to a BMX pedal with tape, but first I’m going to see what I can do with my Campy Victory aero pedals with the foot-guillotine rear cage.

  • superglue E6 plastic tab

    superglue E6 plastic tab, originally uploaded by BikeTinker.

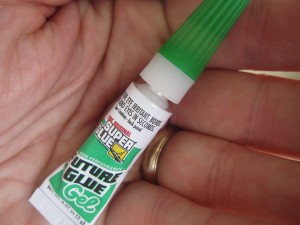
    I broke a second E6 lens! This cheapness of using discontinued bargain lights is getting darned expensive. I glued it with Pliobond, which failed, but the Superglue Gel has been holding for a couple of weeks now. future glue superglue for hard plastics

    Different plastics work with different glues, but so far the cyanoacrylate is a good choice for the brittle clear plastic of the E6 mounting tab.

  • E6 on lower nitto M12 mount

    E6 on lower nitto M12 mount

    E6 on lower nitto M12 mount, originally uploaded by BikeTinker.

    I had to move my E6 down to the lower mounting point on my Nitto M12 rack. The top edge of the lens came up above the rack, and I broke the lens tabs on two lights. Luckily superglue gel seems to be holding.

    The lower mounting boss is M6, and the upper one is M5, so I had to buy another long bolt, and some aluminum tubing for the spacer.

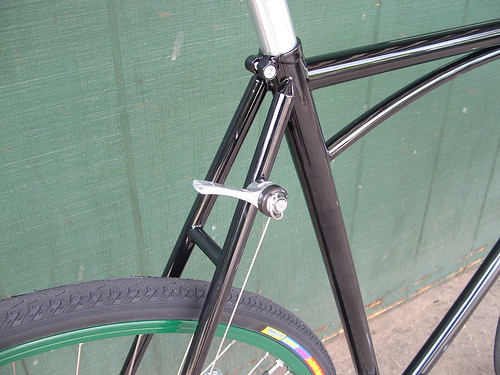
  • 3 speed shifter mounted on the seatstay

    Friction shifter for 3 speed hub, originally uploaded by antbike.

    I’ve wanted to do this for a long time, but assumed I’d have to fabricate a special mount for the bar-end shifter. I was thinking I’d mount an inch of handlebar side-on to the tube (big hole on one side for the allen key, small hole across for the bolt).

    This is an Ant bike, presumably with a downtube shifter brazed onto the seatstay, but according to Pants Pants’ flickr stream, apparently you just need a longer M5 bolt!

    The whole story is here on Pants Pants’ photo (he doesn’t didn’t used to allow bloggeration of his pictures). A closeup picture of the seatstay mounted shifter.

    3-speed shifter

    His bike is the impetus for me to finally buy the S3X hub I’ve been talking about for years!

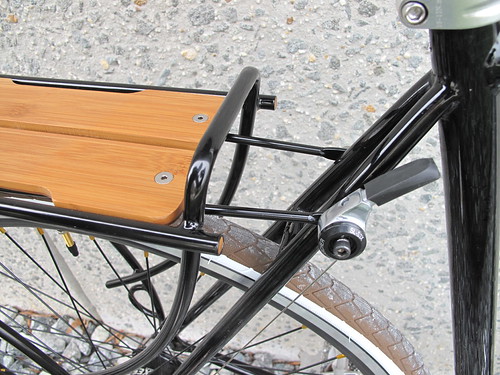
  • transformer rack – YipSan


    transformer rack

    Originally uploaded by YiPsan bicycles

    Total genius. The porteur rack comes apart simply, and reconfigures into lowrider mounts and a narrow rack. YipSan!

  • Sylvan wood lugged bike


    Sylvan wood lugged bike, originally uploaded by BikePortland.org.

    Wooden bike faceted like a pencil. At NAHBS 2011, photographed by BikePortland

  • DIY bike lanes – paint them yourself!

    Art, graffitti, or infrastructure? Cyclists in Guadalajara made their own bicycle lane!

    Read more here: Takeapart.com – guadalaraja-diy-bike-lane

    They say in the movie that they made a mile and a half long bike lane for $1000. It costs their government a million dollars to do the same job. I had an epiphany a little while ago, where I realized that wherever you find ‘government waste,’ you also find private enterprise taking the money.

  • The death of fixie cultcha?

    http://www.junkyrustybikes.net/specials.php
    http://www.irocycle.com/wheelshubsandrims.aspx

    I bought two rims and spoke sets from IRO – $15 rims and $16 black spokes. I loves me the cheap wheel goods. I haven’t even opened the box yet, but I’m looking at putting together a dynamo front and either a Sturmey 3 speed fixed (S3X) or new S2C kickback with no coaster brake. I resent the coaster brake on my Sachs Automatic. It’s heavy, and I can’t kick the cranks around to optimum position.

    I did open the Iro box – one of the rims had a couple shiny inch-and-a-half scratches in the anodizing. I need to see if that’s expected with these $15 rims, or what. There’s gotta be a reason they’re cheap, right?

    I hope you all checked out Velo Cult’s S3X build of Chris Kostman’s Raleigh Competition

  • Bike mudflaps made from leather shoe tongues

    You know you’re old when… you aren’t in shape to work on bikes, let alone ride them. My back hurts!

    I just put in a few hours working on my fenders. I moved the stays much further down towards the ends of the fenders (47mm from the ends). I also switched up to double daruma eyelets on each stay, instead of singles. Total crap job on drilling the holes, but I don’t care. I’m just glad no one’s paying me to butcher their $100 Honjos, and I’ve dropped out of the competition for “prettiest Quickbeam ever.”

    The cool part was installing mudflaps made out of the tongues of leather hi-tops. They’re green, from my old PF Flyers, and well worn. I have a pair of Keen’s tongues for the black bike.

    I cut the tongues out way longer, including part of the rubber toe cap, but ended up making it shorter to fit. I washed the mudflaps in the sink with hot, soapy water, and dried them flat to remove the fold. There’s still a crease there, but I like it.

    The mudflaps look good, but my tires are flat-out too fat for fenders on this bike. Simply dropping down to 37mm tires would make all the difference. And maybe without vestigial knobs that grab the front mudflap on big bumps.


  • Bike Snob – livin’ the dream

    This is a dream I had, not an actual interview. It seems more like it could be the Bike Snob’s dream, though, not mine.

    I was interviewing him at his home, which was a vast open loft apartment with polished concrete floors, a cafe area near the minimal-but-luxurious sleeping area, multiple cool cars and a motorcycle in a workshop area next to the cafe.

    We were conducting the interview across the hood of a ’62 Chyrsler Imperial, using it as a desk. When I asked the Bike Snob how it felt “to have so much awesome stuff,” he wriggled like a puppy. That was a little weird, even in the dream. Apparently he liked it.

    There was also, suddenly, a bar with high-backed wooden booths and a stage for a band, which was setting up.

    He was the lead singer and guitarist, and before he got up to play, he named off the five songs (ever) that had a heavier sound than his band. I had never heard of any of them. There was a big aluminum slider switch on the wall labeled with those same songs and band names, with the switch at the topmost position. I slid it down to the second from lowest and went to get my bike while the band started up.

    I was packing my notebooks and camera into my bike bag and said, “now I have to ride my bike back to America… with no lights.”

  • Lighting woes (soon to be woe-less)

    For the last month or so I haven’t been riding to work or for pleasure after dark, because my main light was out. I bought new bulbs and a new lens, but it didn’t fix it.

    Today I put the word out to the Rivendell group, and got nice deal on two replacement E6 halogen lights. One for the Quickbeam, to get it rolling with dual lights again, and the other for my wife’s Steyr.

    I have an old bottle dynamo for her bike, but I’d need to gen up a mounting bracket. The ones I’ve seen are fairly sucktacular.

    I want to switch over to an LED light like the IQ Cyo for my dynamo hub, but I have a bag of 3 watt halogen bulbs, and a (fairly small) number of bikes, so I think I’ll stick with the halogens for the next year. Maybe then get a Cyo for the Quickbeam and move the E6s to the less-used bikes.

  • carradice bags under a porteur rack


    P1070836, originally uploaded by ramona wheelright.

    I like the look of this a lot. It does look like the rack could be a lot narrower and work the same way, since few people porteurate newpapers anymore.

  • Finally! (New dirt drop bar)

    Finally!, originally uploaded by brantrichards.

    Well look at that! Silver, angled hoods, long ends… I like it! The Ragley “Luxy” is Brant (Midge Bar) Richard’s new drop bar – see more pictures on flickr or at his Shedfire site.

    In stock right now at Chain Reaction bicycles. Well dang. Black is $53, silver is $60. Postage is 8 bucks. $8.02, actually. Weird numbers. The Bontrager would look better with the cheaper, blacker, bars, I think…

    Top View:

    Black view:

  • Painted stem to match the Bontrager

    Painted stem to match the Bontrager

    I’ve had drop bars (On-One’s Midge bars) on my mountain bike for a couple of years. Miles at Roseland Cycles (now in Berkeley) sent me this stem, along with some good advice and a CAD drawing of my ideal stem (52°x180mm?). I used it in its shiny silver state, then gave it to a friend and started using an extender and a shorty stem.

    Recently my friend gave me back the stem, along with the bike it was attached to. Weird. I may take the sculpture he likes off of Etsy and give it to him on Boxing Day. The bike probably won’t work for my ten year old just yet, but it’s rolling again. When it gets honed a little, I’ll try to cover it in a post. It’s been a busy Fall – I can either mess about with bikes, or blog about messing about with bikes, but not both.

    Something I did manage to fit in was painting this stem, since painting bike parts is 9/10 having the space and paint, and 1/10 not really caring how it turns out. I stuck a garden stake in one hole, put the whole thing in a box and shot it with Zinsser 1-2-3 primer. Over a couple days I gave it a couple of coats, then got on it with a can of “Color|Decor” blue 527796 (or cds24) I got at my Wilco Farm Store (Ace Hardware). It’s made by GPM, which has the worst website I’ve seen in a while. Anyway, it matches the front of a 1999 Bontrager Privateer pretty well. Better than the Rock Shox SID fork, at any rate. When that looked pretty well covered, not too runny and not too dusty, I gave it a good coat of Krylon triple-thick crystal Clear Glaze. Probably a triple coat.

    So there it is. A little more reach to the bar, and a fairly chunky stem, but the color makes me happy.