Blog

  • let’s just enjoy the skungy funk


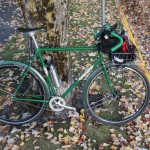
    Quickbeam S3X – take II, originally uploaded by BikeTinker.

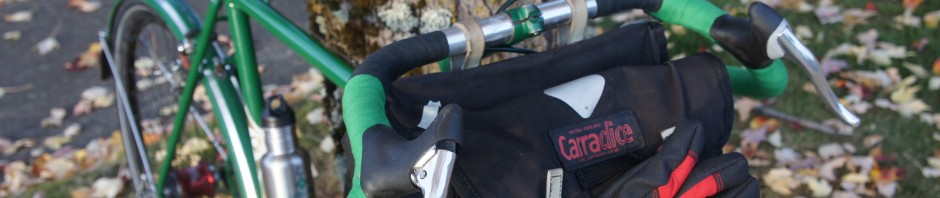
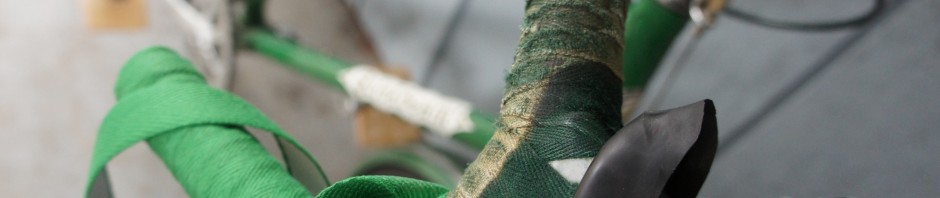
    stratigraphic bar tape. Top layer with adobe-like layer of ground-in mud removed, bottom layer of rotting shrouds taped over with fresh, clean Newbaum’s.

  • My first Instructable

    My first Instructable

    Use a worn cassette cog as a singlespeed cog

    I’ve been an Instructables member since 2007, but never made one. I love their newsletter, though. Maybe the next thing is to make a project based on someone else’s instructable. LED lights, maybe.


  • Inexpensive Alfine dynamo hubs

    Inexpensive Alfine dynamo hubs

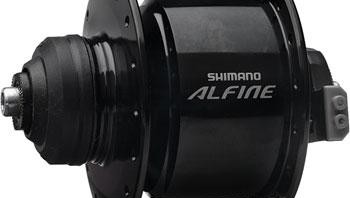
    The OTHER killer deal on something I needed (that won’t make me throw up in my mouth a little*) was a $51 32 hole Alfine dynamo hub in black, exactly like the $120 one I’ve been saving up for. Total came to $63 with shipping to Oregon. If you live in Colorado, it’s cheaper.

    the picture doesn't show the packaging anyway...

    I saw an “OE Pack” hub on eBay for a great price, and then Googled it. After poking around a few sites that also carry the item, it turns out ebikestop.com has the same Alfine hub, at the best price. Since they have pretty helpful customer service, I emailed them to make sure it wasn’t just like the replacement internals or something, and yup, it’s the exact same hub as the more expensive Alfine hub they carry, but without the fancy packaging. Since I plan to build the hub into a wheel, rather than save it in acid-free plastic, I’m pretty pleased at the deal.

    I imagine this either means that Shimano is coming out with something much nicer for 2012, or the brief OEM flirtation with dynamo hubs on city bikes is officially over.  As someone who’s riding E6s instead of LED headlights and buys used CDs instead of downloading MP3s**, that’s fine with me.

    *to borrow a quote from Bike Snob commenters circa 2008.
    ** 10 mp3s for $3? In an archival re-rippable format? Okay.

  • Pink Fenders for the Gravel Roadster

    Pink Fenders for the Gravel Roadster

    I need fenders for the Fisher Utopia, since it rains up here pretty much non-stop, and I’ve gotten used to riding and staying dry and clean. The trouble with the 60mm (53mm actual? I can’t remember) Big Apples is that they need giant-sized fenders. Sixty millimeter Berthoud Stainless fenders might work, but Planet Bike Cascadias look like the real choice, since they are 65mm wide.

    EBay has some people listing Cascadias, but most of them are just selling at market value. But… I happened across a pair of PINK fenders for $20 (+$13 shipping). Hmmm. $33, and the best I’d seen elsewhere was about $45, with shipping.

    And they’re pink, which is incredibly obnoxious. It looks like they were a limited edition Planet Bike run in 2007 or so, which somehow makes it less likely that I’ll spray paint them. It kind of makes me want to paint the whole bike pink.

    …and it looks like the seller relisted another pair of pink Cascadias…


  • Dingle fail

    Dingle fail

    My Gravel Roadster has two singlespeed gears – two rings and two cogs. The outer, road gear works fine, the inner Baker Creek Road gear skips. Yesterday I re-measured my chainlines, and moved both cogs outboard 4mm. The real difference was 3.5mm, but I only have 2mm spacers.

    I don’t think that was the real problem, since the big gear works fine, even under fairly extreme load. Only fairly extreme, since I don’t actually get up over the stem with my 240 lbs on a drivetrain I think might skip…

    So… I also changed cogs, moving to a larger cog to take up more singleator slack, and also to be different. The previous cog was a cheap stamped chrome single-specific cog with deep valleys. The new one is pulled from a cassette – ramped, profiled and worn. I filed off the little tab so I could mount it backwards (and use the unworn tooth faces, a la Sheldon Brown), and I would have demonstrated that here, but… it didn’t work. Second assault on the Baker Creek ascent ended the same as the first – riding the hard gear, and pushing the steep pitches.

    I pretty much decided I was going to make it a geared bike, but I think I’ll try the low gear in the outer position as the ONLY gear first. That and get fenders for the monster Big Apples, since it’s going to be raining for the next 8 months.

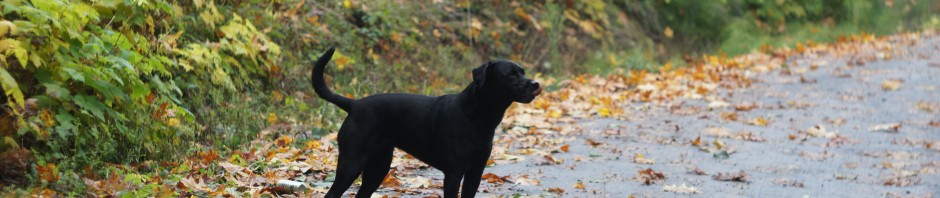
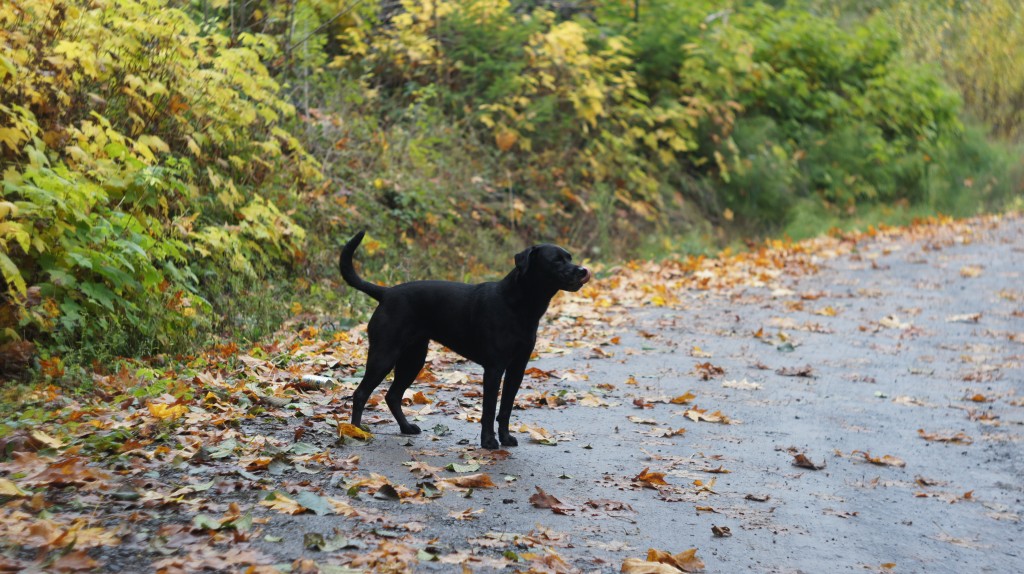
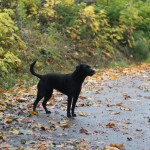
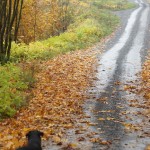
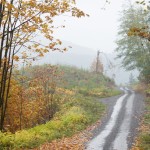
    So here are some pictures of the road and the dog. Still a nice time out, but a frustrating tinkering fail.
  • homemade straps for saddlebag

    homemade straps for saddlebag

    I bought a used Little Joe saddlebag, but it came without straps. I tried toe straps to close these up, but ended up using a trick my friend suggested – cheap belts.

    I cut a $1.99 Goodwill thin leather belt in half, removed the buckle, and riveted on some new buckle-y hardware. I had to Xacto the edges to fit the D rings on the bag, but then I had to cut the straps narrower again to fit the new buckling hardware. I used scissors for that, because my last Xacto blade had dulled on the first pass through.

    I would have liked to hold out for belts with brass D-ring buckles, but this is what I got. This and a green leather belt I’m using to hold up my pants. The Xacto knife did a way better job of cutting the leather than the scissors – do it right next time.

    Oh yeah, there are zip-ties holding the bags to the stem and seatpost, respectively. The black ones came with the Big Apples, holding them coiled in the box. Cheap much?

  • Jeff Lyon / Lyonsport trailer cycle

    This is extremely cool. If you poke around joe’s photo stream, you’ll see he’s doing something even more extremely cool with this bike…

    **Update: Racked and fendered! Way way too cool.

    Via Flickr:
    see also:
    www.ctc.org.uk/DesktopDefault.aspx?TabID=3614

    storkbitesman.blogspot.com/2007/08/ebay-gorgeous-jack-tay…

    www.blackbirdsf.org/taylor/8513.html

  • Jeff Jones production spaceframes

    Jeff Jones production spaceframes

    I’ve been a fan of the Jones spaceframe for several years now. Go look at it. If you don’t like it, I don’t know what I can say to you…

    I stole this image from jonesbikes.com

    With the introduction of steel production models from Taiwan, Jeff Jones has suddenly put Spaceframe ownership into the realm of possibility, with a sub-$2000 outlay to get rolling with the full Jones package: space frame, truss fork, loop bar and 135mm front hub.

    His truss fork can also take a… wait for it… a fatbike front wheel for massive traction and suspensionless suspension. I’d still need a multi-hundred dollar front wheel for the fatbike approach, but I like this idea a lot.

    You can get a Jones diamond-frame and fat unicrown fork for only $750, but the downside of of the Jones approach for me is… I want the whole package! Spaceframe, truss fork, loop bar, special front hub for stiffness, custom 6-speed cassette on 22/32 rings (plenty range, dishless wheel)… it just seems like Jeff Jones has thought through all these innovations and details so thoroughly.

    To bankroll the Full Experience, I’d need to cannibalize the Gravel Roadster, and sell my prized but undervalued-in-the-marketplace bikes. Even then, I’d probably come up short. Bontragers are holding steady at $350 on Craigslist, and I’d get like $1100 for the Quickbeam. (The Bontrager is still a $1000 bike, dammit!) A couple hundred dollars for a couple other bikes and weird wheels, and I could probably get a 29er setup on the trail. A better option, though, would be to win it in The Dirt Rag sweepstake! Oops, I wasn’t going to share that strategy…

  • OX Brand Ti Cruiser


    OX Brand Ti Cruiser, originally uploaded by unclefuzzy_ss.

    That’s a cool bike – I hadn’t heard of them before BikeTinker commenter RA mentioned he’s getting a Groovy Cycles LD stem for one. I really like the double top/stay tubes and “triangulation” tube.

  • skate deck pedals – SOLD

    To a fellow Quickbeam owner. I have more on Etsy, but they’re all cleaned and polished. I like the punk-rock versions with the left-over graphics, myself.

  • finally, the joy of riding

    finally, the joy of riding

    You know… to work. And… with the dog. Still, the silence of the chain and bottom bracket, and the smooth shiftability of the bike, the gripness of the bars, and the pure attractiveness of the cleaner more colorful bike make me really happy.

  • More Tinkering

    More Tinkering

    After getting the Quickbeam’s S3X squared away, I mounted giant-sized 47mm Schwalbe Marathons, but the front couldn’t quite clear the fender.

    wtb dirt drop bars, rivendell quickbeam, newbaum's tape

    • Remove extra large Marathon tire, install Kenda Kwest in 37mm. Looks pretty good!
    • Pinch the tube under the tire bead, and have it blow 20 minutes later sitting in the entryway. 6″ blowout in a never-patched tube.
    • Put in a new tube. Lots of patches on it, so it’s got to be good.
    • As long as the wheel’s off anyway, clean the rim, hub and spokes.
    • Putting the wheel back in is a little fussy, because the allen bolt on the front fender stay pokes way in and makes it hard to get to the spades for the dynamo wires to attach. The rear stay is even worse. It almost touches the cog, and looks stupid.
    • Change out all the stay mount nuts for shorter ones that don’t crowd the hub or the dynamo wire tabs. Make sure they all take full-size hex heads.
    • As long as the nuts are out, I should reorient the V-O fender stay mounts that don’t quite “stay.” They’d been pointing up to get more of the stay inside the mount, but that didn’t help the grip anyway, they may as well hang down properly.
    • Hey, look, the front brake pads could use some sanding…
    • Snip the S3X shifter wire shorter. That’ll look better. Boom! Crazy hair! Wire strands splay out everywhere. Dammit.
    • Remove left crank and bottom bracket cup. Something down there’s been creaking. Grease up the cup threads, and inside, where it contacts the bearing. Reassemble. It only took a minute, and I think it worked.
    • The rest of the bike is really starting to look fresh, and the tape is really skanky. I think I bought a roll of green Newbaum’s from Rivendell when I got the orange and blue for the Bontrager and the red and black for the Gary Fisher.
    • Peel off top layer of tape. Wow. That looks positively Victorian under there, like something a coal miner would wear. Cover it up, quick… with a single roll of tape for both sides.
    • That’s pretty half-wrapped; it barely comes past the hoods. Make up the difference with the tail-end of a black roll, and be done.
    • Go ride with the dog.
    • Suspect that the new oft-patched tube has a slow leak.
    • Ride to the store for 6 lbs of sugar, 6 pack, two sodas and a half liter of red wine vinegar in the front basket.
    • Find that the fender front fender is loose. The load is a littel wiggly, and something rattles when you whack the basket. Pop the wheel out, tighten the bolt that mounts into the rack, and get the wheel back on in seconds. All the practice has paid off!
    • Buy a fresh tube (SEVEN DOLLARS??) and remount the tire. Do all the stuff as before, but with fingers crossed.

    finally got this thing dialed in!

  • Tinkering

    After taking the dog for a long ride with the mountain bike (note to self: spend more time maintaining bikes than tinkering with them this winter), I got into the final adjustments on the S3X.

    • Adjust the cones.
    • Throw away the aluminum washer and replace it with one of the old thick anti-rotation (tabbed) washers. Looks pretty slick. The aluminum washer had already smashed into the thin steel washer, and was locking up on the axle threads. I don’t think I can get the aluminum washer off the steel, since it’s kind of grown around it.
    • True up the wheel. Easy peasy. I’m still doing the Jobst “only quarter turns” thing, but I still don’t like it. It makes it easier to grab the nipple, but I don’t feel you can get the wheel as true as using 7/8 turns and 19/32 turns.
    • Mount the new Schwalbe Marathon 47-622s I just got. Yeah, yeah, they shouldn’t fit on the Quickbeam with metal fenders, and they rub on the brake bridge mounting bolt, so…
    • Pull the rear fender and clean up the mounting. Replace the brake bridge hanger with a rivet! Rivets are low profile, and leave enough room for the hanger bolt. Also cut a new leather washer for under the mount, and file the mounting slot longer, to get the fender a micron higher. Replaced the cork chainstay bridge mount with an old bearing. Looks cool. These fenders need a respray, but I’m out of the Quickbeam-matching spray paint.
    • Mount the fender and wheel and Yay! It fits pretty well. That top fender mount nut had been a killer, even on smaller tires. Feel so good about the rear, I mount the front Marathon as well.
    • Whoops. Appears to rub on the nut mounting the fender to the Nitto rack. There may be a way around this, but I doubt it. The clearances are minuscule. I’m putting a different tire on tomorrow.
  • Sturmey S3X new guide nut

    Sturmey S3X small parts, originally uploaded by BikeTinker.
    David at Sturmey-Archer North America (yes, we’re on first name basis, and no, I didn’t have to tell him where I live) said he couldn’t really remember anyone breaking their guide nuts but me, and certainly not without dropping the bike.

    Nevertheless, the new guide nut is a lot sturdier looking than the original, and the previous replacement nut. No high-shine chrome, no sexy inscribed ring, and especially no extra set of holes!

    Before installation this time, I also put all the washers on the axle and tightened the nut all the way down and MEASURED THE GAP. It was 1mm wider than the thickness of my dropout. Oh.

    The gap on the left side was small enough to get tight, but the drive-side nut wouldn’t be able to tighten down all the way. Bear in mind that this is a different axle and internal mechanism than the one I broke the first guide nut on, so I’d measure before installation on any bike. Measure the dropout width, measure the gap left after tightening all the nuts and washers up finger-tight. If the gap is bigger than the dropout, add a washer.
    David did say that adding an extra washer would NOT mess up the shifting the same way using a long (AW-sized) guide nut would.

    I added the washer, and the wheel seems tight, and the shifter shifts fine. I rode the bike a few miles, and I’ll adjust the cones tomorrow and ride it some more.

  • Baggins Little Joe Saddlebag – howzit work?

    Baggins Little Joe Saddlebag – howzit work?

    I just bought a used Little Joe saddlebag, a nice-looking canvas and leather number that matches my old Banana Bag pretty well.

    My only issue is that I don’t know exactly how the bags are supposed to be fitted with straps! There are 8 d-rings on the flap and bottom of the bag, which seems like a lot, but at least 4 and maybe 6 are for the straps to cinch it closed. If anyone has instructions, I’d much appreciate it.

    Duluth made this a long time ago for Rivendell, under the since-discontinued “Baggins Bags” line. Rivendell retired some Tolkein names at the request of the copyright holders (not the film company). Quickbeam was one, and Baggins was another. The new Riv line is “Sackville,” which is also a Tolkein reference, but made the cut. Less famous, maybe.

  • skate deck pedals on Etsy

    skate deck pedals, originally uploaded by BikeTinker.

    Jim Greco skate deck pedal platforms on Etsy – no cleats.

    I added a pair of skate deck pedals to my Etsy store. This pair still has the graphics on the bottom for extra punk. The other ones are maple-bottomed, but I haven’t added them yet.